








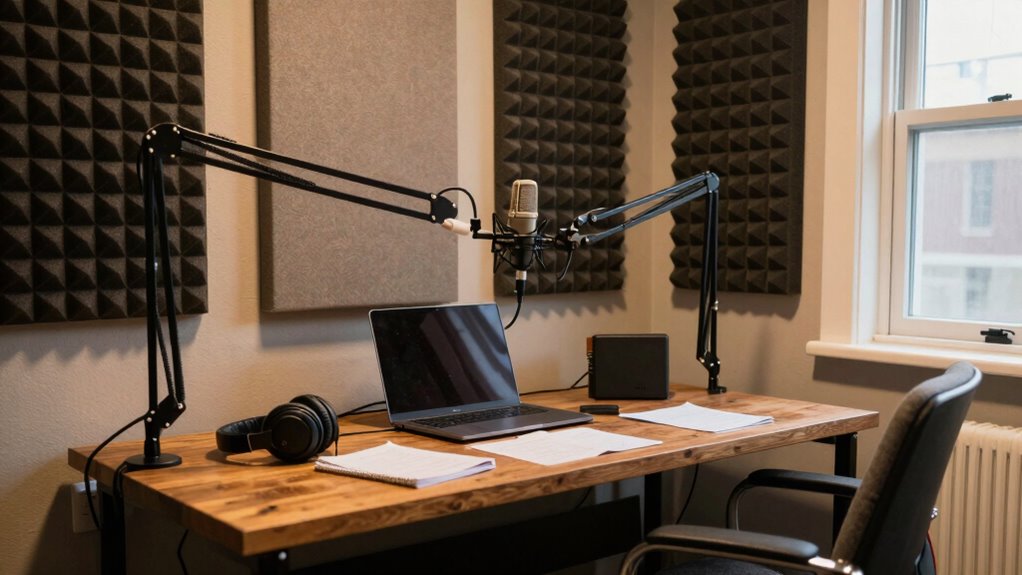
Your setup habits are more important than expensive gear for making great podcasts. Proper microphone placement, soundproofing, and maintaining a consistent environment help improve audio quality considerably. Even with basic equipment, good habits reduce background noise and echo, saving you time on editing. Focus on creating a dedicated, organized space and practicing your setup routine. If you keep these tips in mind, you’ll discover ways to boost your sound quality without breaking the bank.
Key Takeaways
- Proper microphone placement and positioning have a greater impact on sound quality than expensive equipment.
- Soundproofing techniques reduce echo and background noise more effectively through setup habits than gear alone.
- Consistent setup routines ensure reliable, high-quality recordings regardless of equipment quality.
- Regular environment maintenance and organization prevent technical issues and improve overall audio clarity.
- Good recording habits maximize the effectiveness of any gear, minimizing the need for costly upgrades.

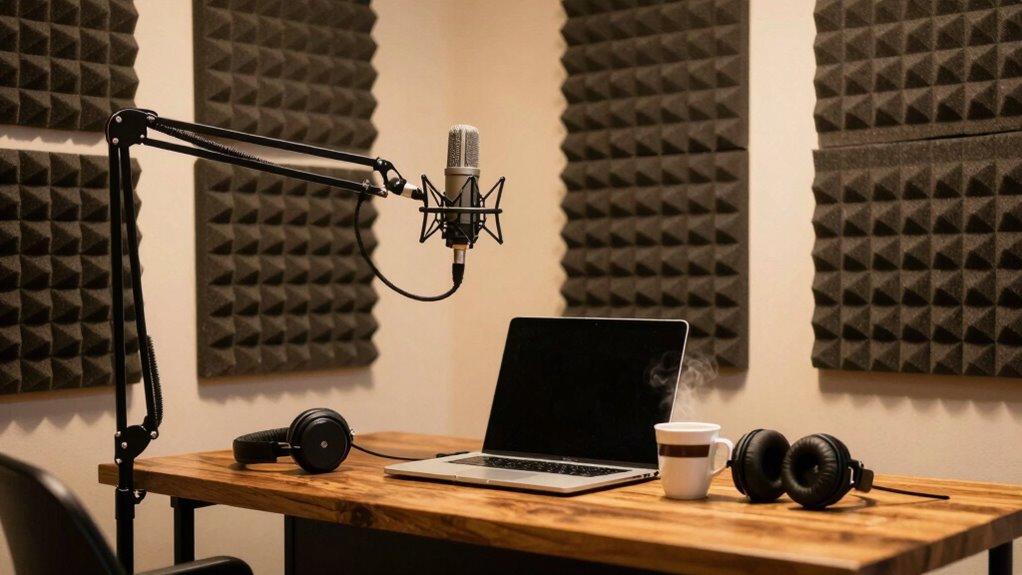
While having high-quality podcast gear can be tempting, your success largely depends on how you set up and use what you have. The best microphone in the world won’t deliver clear, professional sound if you don’t pay attention to microphone placement. Position your microphone correctly—usually about six to twelve inches from your mouth—so your voice sounds natural and balanced. Keep it slightly off to the side to avoid plosive sounds and to reduce harsh breathing noises. Experiment with angles and distances until you find the sweet spot that captures your voice clearly without picking up too much background noise. Proper microphone placement is fundamental; it ensures your voice remains the focus and minimizes the need for post-production fixes.
Proper microphone placement ensures clear, natural sound and minimizes background noise, making your recordings more professional.
Beyond microphone positioning, soundproofing techniques play a crucial role in creating a high-quality audio environment. You don’t need a professional recording studio—simple soundproofing methods can dramatically improve your sound quality. Start by identifying the most reflective surfaces in your space—walls, windows, and hard floors—and add soft materials like foam panels, blankets, or heavy curtains to absorb sound waves. These materials help prevent echo and reduce ambient noise, making your recordings cleaner and more consistent. Sealing gaps around doors and windows also prevents outside noise from seeping in, which can be distracting and diminish your audio clarity. Remember, the goal isn’t to create complete silence but to minimize unwanted noise and echoes that interfere with your voice. Effective soundproofing techniques can make a significant difference even in imperfect spaces.
Good setup habits extend beyond just microphone placement and soundproofing. Keep your recording space organized, so you’re not scrambling to find equipment or adjust cords during a session. Test your setup regularly to ensure your microphone, headphones, and recording software are working properly. Use headphones during recordings to catch issues in real-time, like background noise or microphone pops, so you can make immediate adjustments. Additionally, develop a routine for your recording environment—set up consistently, position your mic the same way each time, and always record in the same quiet spot. This consistency helps you maintain high-quality sound without constantly fiddling with settings. Understanding the importance of soundproofing techniques can significantly improve your recording quality and reduce post-production editing time.


Focusound 52 Pack Acoustic Foam Panels 1″ x 12″ x 12″ Sound Proof Foam Panles Soundproofing Noise Cancelling Wedge Panels for Home Office Recoding Studio with 300PCS Double-Side Adhesive
- Soundproofing Design: Triangular grooves for noise absorption
- Includes Adhesive Tape: 300pcs double-sided adhesive for easy installation
- Easy Shape Recovery: Reforms after soaking in water
As an affiliate, we earn on qualifying purchases.
As an affiliate, we earn on qualifying purchases.
Frequently Asked Questions
How Do I Choose the Right Microphone for My Home Studio?
To choose the right microphone, consider your recording environment and the microphone types suited for your needs—like dynamic or condenser mics. Focus on proper microphone placement to guarantee clear sound, avoiding unwanted noise or echoes. Think about your budget and the kind of sound you want to capture. Ultimately, selecting a microphone that fits your setup and practicing good placement habits makes the biggest difference in your podcast quality.
What Are the Best Ways to Prevent Echo and Background Noise?
Think of your studio like a musical instrument; proper room treatment and noise reduction are keys to harmony. To prevent echo and background noise, add acoustic panels or foam to absorb sound, and seal gaps with weatherstripping or rugs. Use a directional microphone to focus on your voice. I once fixed echo issues by hanging blankets, and it made a huge difference—simple steps can dramatically improve your sound quality.
How Often Should I Upgrade My Podcast Equipment?
You should consider upgrading your podcast equipment every 2 to 3 years, depending on your equipment’s longevity and your evolving needs. Regularly assess if your gear still meets your quality standards and if it supports new features or technology. When you notice consistent issues, outdated hardware, or reduced audio quality, it’s time to upgrade. Staying current guarantees your podcast remains professional, engaging, and competitive.
What Software Is Recommended for Editing Podcast Audio?
For audio editing, you should try software like Audacity, GarageBand, or Adobe Audition. These tools offer a good balance of features and usability. Do a software comparison based on your needs—such as ease of use, noise reduction, and exporting options. You might find Audacity perfect for beginners, while Adobe Audition offers advanced editing capabilities if you’re more experienced. Choose what fits your workflow best.
How Can I Improve My Speaking Habits for Better Sound Quality?
To improve your speaking habits for better sound quality, focus on voice modulation and breath control. Practice varying your pitch and volume to sound more engaging, and take deep, controlled breaths to maintain consistent sound levels. Record yourself regularly to identify areas for improvement, and consider working with a coach or using online exercises. Developing these habits enhances clarity and makes your podcast more professional, regardless of your gear.
Conclusion
So, you see, it’s not about having the fanciest gear but about cultivating solid setup habits. When you focus on consistent placement, mindful acoustics, and regular checks, your sound improves naturally. Isn’t that a more empowering way to grow your podcast? Instead of chasing the latest gadgets, invest in building habits that make your setup reliable and your voice clear. After all, isn’t it your message that truly matters most?


