








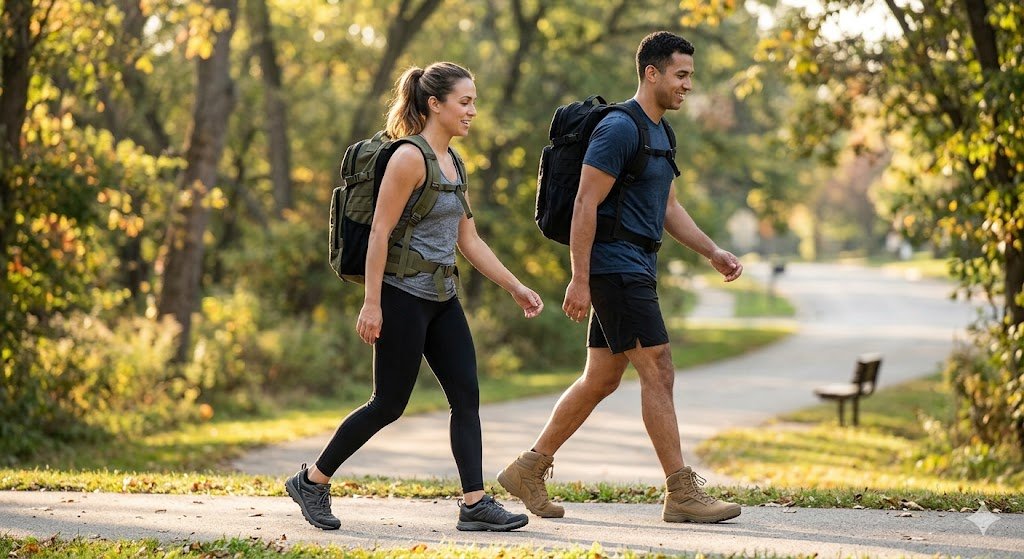
Are you looking for a functional, and natural calorie burning workout that doesn’t involve running on a boring treadmill or staring at a gym sessions? then Meet a new trend which gain popularity in rucking. In this article we want to explore the Recently trending Rucking workout Plan for Beginners and health enthusists.
It was originating as a foundational training pillar in military forces worldwide, rucking is simply walking with a weighted backpack. Today, it has widely used into the regular public fitness and wellness industry as a premier outdoor alternative to traditional cardiovascular exercise. The beauty of this movement remains in its accessibility, as if you can walk, you can also ruck the hevy backpack and run or walk to improve your stamina.
Whether your final fitness goal is a sustainable weight management, building strong core and body back, shoulder, hands and legs endurance and strength, or leveling up your cardiovascular stamina, this article will help you to understand a step-by-step rucking workout plan for beginners, backed by exercise science and real-world tactical strategies.
- The Science: Why Rucking is the Hybric Cardio-Strength gainer
Many regular fitness routines force you to choose between building muscular strength (lifting weights in a gym) or improving cardiovascular endurance (running, cycling, or swimming). But Rucking bridges this gap entirely, with an advance body engineering concept which many legendary strength coaches refer it as an Active Resistance Training.

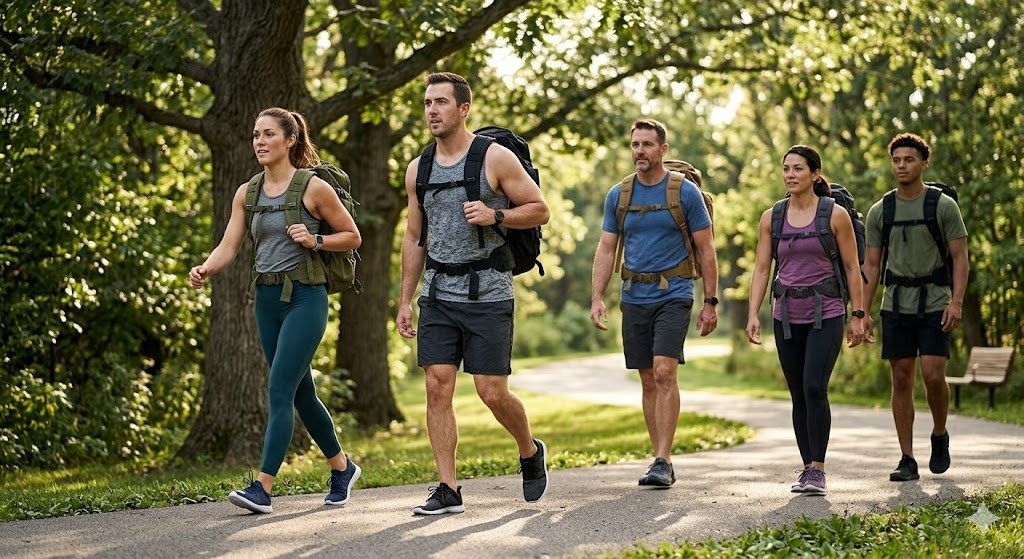
When you add a safely distributed, a loaded back pack with a standard walking routine, with which many physiological adaptations occur simultaneously:
Major Caloric Burn and Metabolic Rate Spikes:
According to research data gathered in the Compendium of Physical Activities, an average 30 minutes of walk at a moderate level burns roughly 125 calories. But with Adding a properly weighted rucksack to that exact same walk causes your metabolic rate to spike, by burning approximately 325 to 350 calories in the same timeline. By increasing the mechanical workload without requiring you to run, rucking burns up to 3 times more energy, which makes it a more powerful tool for maintaining a healthy calorie burn.
The Zone 2 Fat-Loss Sweet Spot:
High-intensity running often pushes your heart rate at higher level, and starts burning glycogen (carbohydrates) rather than fat. Rucking naturally elevates and stabilizes your heart rate into Zone 2 (which is roughly 60% to 70% of your maximum heart rate). This is the maximum metabolic level where your body depends on fat oxidation as its primary fuel source, building your bacis aerobic capacity while safeguarding you from extreme physical exhaustion.
True Low-Impact Conditioning:
Running subjects your knees, ankles, and lower back to stressing and repetitive impact forces up to 3 times of your total body weight with every single set. Because rucking is an extension to routine walking, you keep one foot securely on the ground at all times due to higher weight on your back. It delivers the intense cardiorespiratory stimulus of a heavy jogging with the joint-friendly safety protocol of careful ground steping.
Functional Strength and Postural Gains:
Recent reviews on clinical research related to rucking demonstrated that a routine consistent load carrying activity drastically improve maximum oxygen uptake, while this actively strengthens your glutes, hamstrings, quadriceps, spinal erectors, and upper trapezius muscles. Bracing against an external load acts as a continuous, low-intensity isometric hold for your entire core and posterior chain and improve its strength.
- 5 Golden Rules for Rucking Beginners:
Before loading heavy objects into a backpack for ruccing session, establish a safe physical cautions to optimize your proper form and preventing muscle stress.
Master the 10% Protocol: Never start too heavy. For your first 3 to 4 weeks, the total weight of your loaded pack should equals exactly to 10% of your current body weight. If you weigh 180 lbs, then your starting pack of weight should be 18 lbs which is 10% of your existing body weight, which can be eventually increased gradually as for begineers 5% to 10%, for progressive 10% to 15% and for expert 20 to 30% maxiumm. As, carying a weight on back above 30% of your body weight can increase a chance off muscle or joint injury.
Prioritize Load Placement: This is highly recommended for beginners. The weight inside your backpack should be placed high up against your spine, sitting perfectly between your shoulder blades. Shifting the weight to the bottom of the bag pulls your shoulders backward, forcing your lower lumbar spine to arch unsafely to dangerious workout injury. Ideally place a rolled-up yoga block or firm towel at the bottom of your backpack to keep your weights balanced and your body safe.
Invest in Good workut Shoes and comfy Socks: Walking under load can increases down-force friction on your feet. Instead of thin lifestyle sneakers go with robust athletic shoes for better experience. Can choose the supportive running shoes or hiking boots with a wide toe, and pair it with a thick, moisture-soacking synthetic or merino wool socks to entirely eliminate friction blisters.
Maintain Proper Posture: Keep your head neutral, eyes focused on the horizon, and shoulders pulled back and down. Avoid the common mistake of bending forward at the waist to bear the weight, let your hips and core handle the compression naturally.
Take Shorter, but Efficient Steps: If you want to increase your efficiency, do not overburdon yourself (avoid taking excessively long steps), as this acts as a brake on your knees and heels. Instead, take the shorter, quicker steps and drive actively through your heels.
Separate Your Variables: When during progressing of your training, never increase weight and distance in the same week. If you choose to walk further this week, keep the backpack weight sufficient. If you add 3 lbs to the pack, keep your target distance identical.
- The 4-Week Beginner Rucking Workout Plan:
This progressive schedule is designed to give your muscles, tendons, and connective tissues an adequate time to adapt to load-bearing conditioning of your body. Find a flat park trail, local high school track, or neighborhood sidewalk to get started.
Week 1: Foundation Building
Frequency: 2 sessions per week (leave 48 hours of rest between sessions).
Pack Weight: 10% of your body weight.
Distance: 1.5 miles per session.
Goal: Focus purely on structural posture and getting used to with the high placement of the load against your shoulders to your body.
Week 2: Stamina Extension
Frequency: 2 sessions per week.
Pack Weight: 10% of your body weight (No change).
Distance: 2.0 miles per session (Increased distance).
Goal: Build foundational aerobic endurance within your Zone 2 heart rate window. Practice maintaining a steady, brisk walking distance.
Week 3: The Load Challenge
Frequency: 2 sessions per week.
Pack Weight: 12% to 15% of your body weight (Add 3–5 lbs to the pack).
Distance: 1.5 miles per session (Deloaded distance).
Goal: Adapt your core body, lower back, and upper traps to a heavier downward pressure over a shorter distance due to carrying weight.
Week 4: The Consolidation Ruck
Frequency: 3 sessions per week (2 short structural rucks, 1 extended weekend ruck).
Pack Weight: 12% to 15% of your body weight.
Distance Breakdown:
Sessions 1 & 2 (Mid-week): 1.5 miles
Session 3 (Weekend Endurance): 2.5 miles
Goal: Fully strengthening your new functional work capacity and cardiovascular endurance.
- DIY Rucking Gear vs. Purpose-Built Equipment
One of the greatest attributes of rucking is its incredibly low barrier to entry. You do not need to drop hundreds of dollars to complete your first month of beginner training.
Feature Comparison: The Pack, The DIY Setup (Free): A standard school, military surplus, or commuter backpack with thick shoulder straps, Purpose wise-Built Rucking Gear: Specialized rucksacks (like GORUCK) which have features of integrated weight plate pockets and heavy-duty reinforced stitching to easily carry heavy weight.
Feature Comparison: The Weight, The DIY Setup (Free): Standard dumbbells, water bottles, bricks, or bags of sand/gravel wrapped securely in a towel to prevent shifting, Purpose wise-Built Rucking Gear: you can also use cast-iron rucking support plates whihc are specially designed to easily fit a high weight on your back.
Feature Comparison: The Fit & Comfort, The DIY Setup (Free): Requires manual padding and positioning adjustments to prevent internal weight movement, Purpose wise-Built Rucking Gear: Use thick padding, built-in sternum straps, and wide hip belts to distribute heavy loads evenly across your skeleton to safeguard from injury.
- Frequently Asked Questions (FAQ)
How many times a week should a beginner ruck?
For beginners, 2 sessions per week is ideal schedule for begineers rucking walk. Rucking places a compression forces on your spine and shoulders that your body isn’t used to. Giving your muscles 48 to 72 hours of recovery time between sessions that will allow your tissues to rebuild stronger without developing over weight carrying injuries.
Can rucking replace your current leg day routine?
While rucking builds incredible muscular endurance in your glutes, calves, and hamstrings, it does not replace traditional resistance training for building maximum muscle mass (hypertrophy). Think of rucking as an excellent support to weight lifting that builds better functional strength and cardiorespiratory health simultaneously.
What should I do if my shoulders go numb while rucking?
If you feel a tingling sensation or numbness in your arms or shoulders, your backpack straps are likely too tight or the backpack is stgripes are too low, which compresses the brachial plexus nerves of your back. Stop, loosen the shoulder straps slightly, ensure your chest strap is fastened to pull the load inward, and make sure the the weight is sitting high on your back rather than touching to your lower spine.
Is rucking safe for people with lower back pain?
Unfortunately, rucking can actually help in increasing few non-specific lower back pains. Because the weight forces your shoulders back, it naturally counteracts the slouched, forward-head posture caused by sitting at office desks all day. However, if you have a history of herniated discs or severe joint degradation, consult with a medical professional before adding rucking or load carrying on your back in your daily routine.
Step Out of the Complex Gym and Onto the Rucking Trail
Rucking is the perfect workout for a modern, sedentary lifestyle. It checks every single health and fitness level of your body, it accelerates fat burning, protects your joints, builds a strong core, and gets you more breathing and oxygen level in your body and stgrengthens your body’s cardiovascular system.
So, dont waith is everything is ok, then Grab an old backpack, load it with 10% of your weight using simple household items, lace up your most comfortable and strong shoes, and start rucking for your first 4 week fitness journey today. Consistency is your only option for success with rucking and even other workout routines for achieving wellness.
rucking workout plan for beginners, benefits of rucking, weighted backpack walking, outdoor cardio alternative, proper form, zone 2 fat loss, functional fitness, rucking plates, metabolic rate,
Want to burn calories and build real strength without running? Use our proven 4-week Guide to a Trending Rucking workout Plan for Beginners to master weighted walking safely, comfortably, and effectively.


Senior Editor, Functional Fitness & Everyday Strength
Qualified B.S. in Exercise Physiology, University of Colorado Boulder | Certified Personal Trainer (ACE)
Jake has been a founding editor at Gymbag since 2018. With over 12 years of coaching experience and a degree in physiology, he specializes in fitness that fits into real life.


